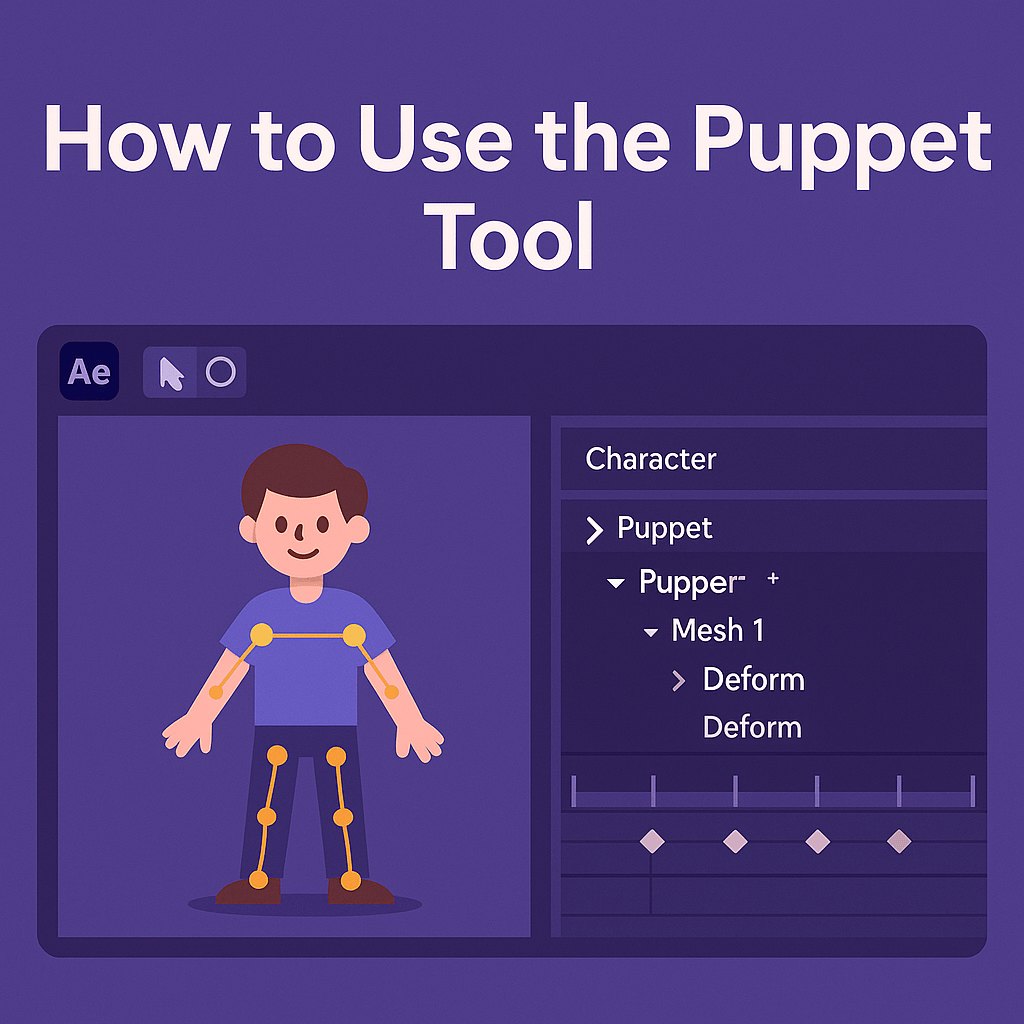
The Puppet Tool in After Effects lets you bring static images to life by adding pins that control movement. It’s perfect for animating characters, objects, and illustrations without needing frame-by-frame animation.
🎬 Step 1: Import Your Image
- Import a character, logo, or object (preferably a PSD/PNG with transparency).
- Place it in a new composition.
- Ensure the layer is rasterized (if Illustrator art, convert to Shape Layer for better control).
🎨 Step 2: Apply the Puppet Tool
- Select your layer.
- Go to the toolbar and select the Puppet Pin Tool (Ctrl/Cmd + P).
- Click on different points (joints, corners, edges) where you want movement.
👉 Example: For a character, place pins at shoulders, elbows, knees, and feet.
⚡ Step 3: Animate the Pins
- Expand your layer in the Timeline to find Puppet > Mesh > Deform.
- Each pin now has Position properties you can keyframe.
- Move pins over time to create movement.
👉 Pro Tip: Use Easy Ease (F9) for smoother motion.
✨ Step 4: Add Overlap with Puppet Overlap Tool
- Define which parts appear in front or behind during animation.
- Essential for natural character movement (like arms crossing a body).
🎬 Step 5: Use Puppet Starch Tool
- Prevents unwanted bending or warping.
- Apply starch to areas you want to remain rigid (like a torso or head).
🧪 Creative Uses
- Animate 2D characters without frame-by-frame drawing.
- Add flowing movement to flags, cloth, or tentacles.
- Bring life to static illustrations for explainer videos.
🎯 Final Thoughts
The Puppet Tool turns static graphics into animated characters and objects with just a few pins and keyframes. It’s simple yet powerful, making it a favorite for motion designers and animators.
👉 Want to try it yourself? Download Adobe After Effects free trial and start experimenting with the Puppet Tool today.






