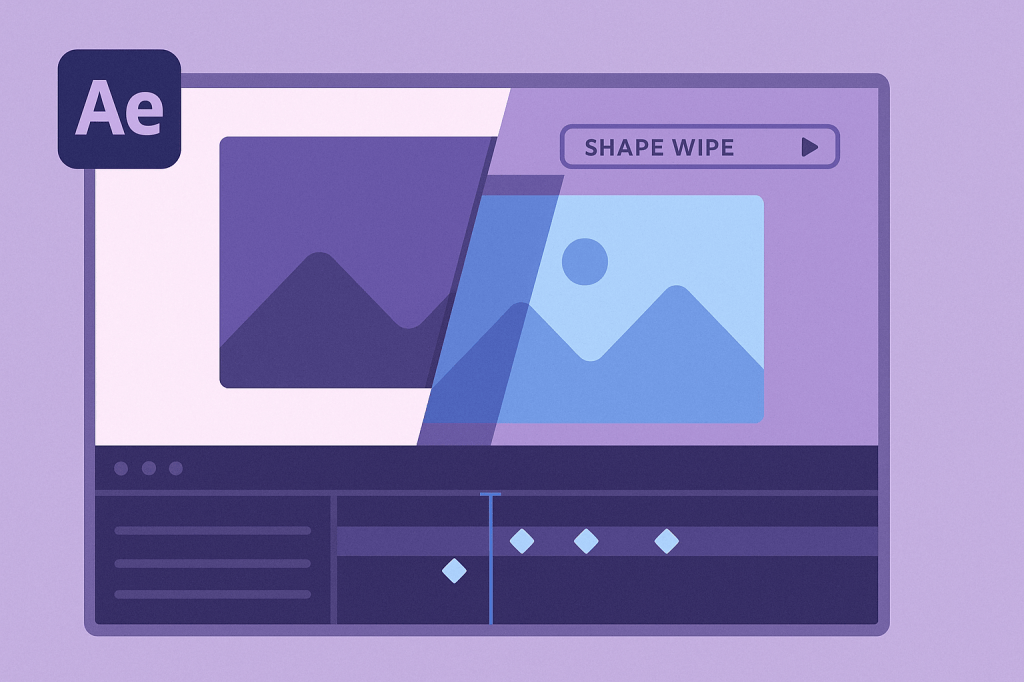
Transitions guide your viewer smoothly from one scene to the next. In After Effects, you can create professional animated transitions using shapes, masks, and effects. Whether for YouTube videos, presentations, or films, polished transitions make your work feel seamless and engaging.
🎬 Step 1: Set Up Your Composition
- Import two video clips or images into After Effects.
- Place them on separate layers in your timeline.
- Overlap them slightly to leave room for a transition.
🎨 Step 2: Create a Basic Shape Wipe
- Add a Solid Layer (Layer > New > Solid).
- Use the Rectangle Tool to create a mask.
- Animate the Mask Expansion or Position to wipe across the screen.
- Use Feathering for a softer edge.
👉 Perfect for clean, modern transitions.
⚡ Step 3: Add Motion Blur & Easing
- Enable Motion Blur on the shape layer.
- Apply Easy Ease (F9) to mask keyframes.
- This makes the transition smooth and dynamic.
🎬 Step 4: Try Advanced Transition Techniques
- Zoom Transition: Animate Scale and Position to zoom between scenes.
- Spin/Rotation Transition: Rotate the entire comp for energetic movement.
- Light Flash Transition: Add an Adjustment Layer with a Glow effect, then fade it quickly.
- Shape Morphing: Use Trim Paths to animate custom shapes that reveal the next scene.
✨ Step 5: Save as a Reusable Preset
Once you’ve built a transition you love:
- Select the keyframes and effects.
- Go to Animation > Save Animation Preset.
- Use it in future projects with one click.
🎯 Final Thoughts
Animated transitions are more than scene changes — they add rhythm and style to your video. Start with simple wipes and build up to complex morphing effects for professional-level results.
👉 Want to try it? Download Adobe After Effects free trial and start designing your own transitions today.






