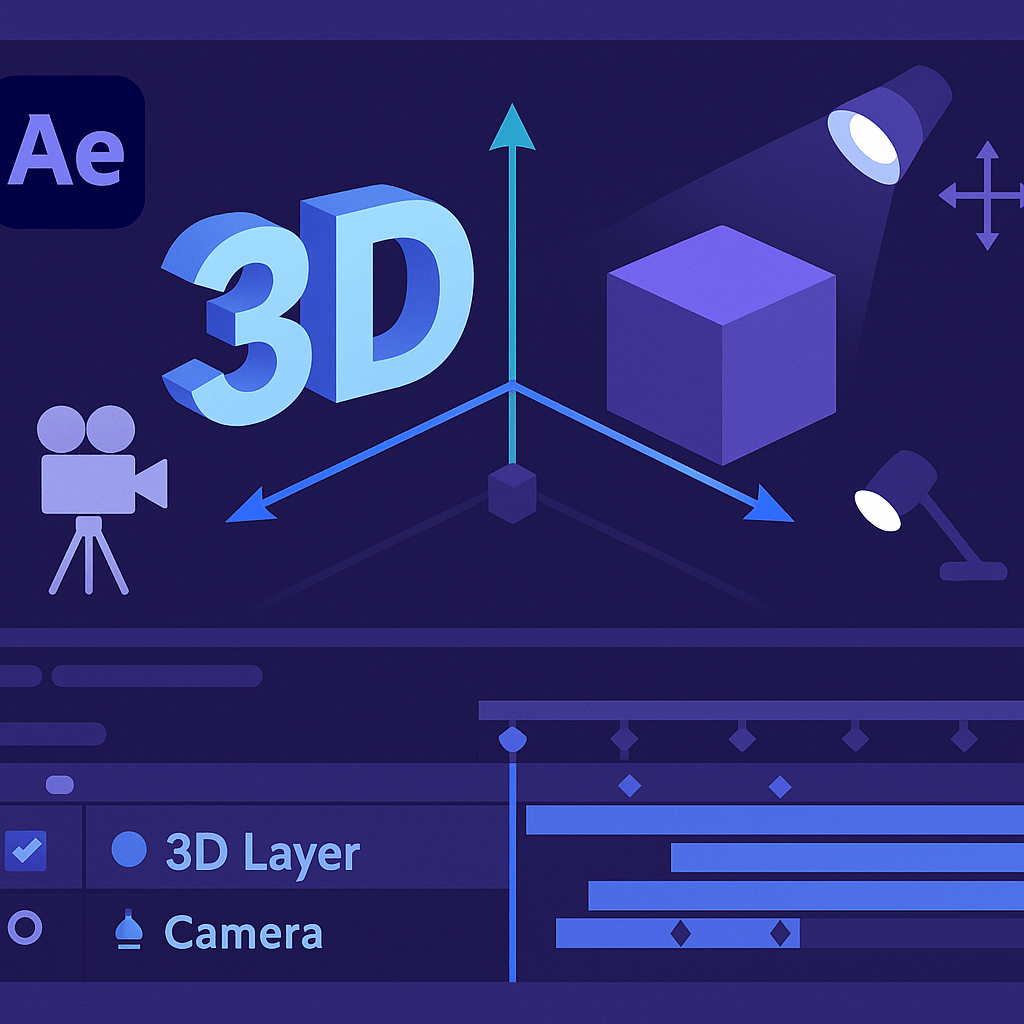
One of the most exciting features of After Effects is the ability to turn flat layers into 3D objects. By enabling 3D layers, you can move text, shapes, and footage in 3D space and animate them with depth, perspective, and lighting.
🎬 Step 1: Enable 3D for a Layer
- Import or create a text, shape, or footage layer.
- In the Timeline, enable the 3D Layer switch (the cube icon).
- The layer now has new transform properties: X, Y, and Z Position & Rotation.
👉 Pro Tip: If you don’t see the cube icon, toggle switches/modes at the bottom of the timeline.
🎨 Step 2: Move Objects in 3D Space
- X-axis (left & right) → moves horizontally.
- Y-axis (up & down) → moves vertically.
- Z-axis (in & out) → creates depth.
- Rotate around X, Y, and Z for natural movement.
👉 Example: Push text backwards on the Z-axis to make it “fly into” the frame.
⚡ Step 3: Add a Camera Layer
- Go to Layer > New > Camera.
- Use the Unified Camera Tool (C) to orbit, track, and zoom in 3D space.
- Animate the camera for cinematic perspectives.
🎬 Step 4: Add Lights & Shadows
- Go to Layer > New > Light.
- Choose Spot, Point, or Parallel light.
- Enable Cast Shadows on 3D layers for realistic depth.
👉 Perfect for dramatic text reveals or product animations.
✨ Step 5: Combine 2D & 3D Elements
- Mix 3D text with 2D video footage.
- Add particle effects (like smoke or sparks) for realism.
- Parent multiple 3D layers to a null object for easy group control.
🧪 Creative Uses
- 3D Text Intros: Rotate and zoom text with lighting.
- Virtual Environments: Create parallax by animating multiple 3D layers.
- Product Animations: Showcase a logo or mockup in 3D space.
🎯 Final Thoughts
3D layers unlock an entirely new dimension in After Effects. From cinematic text animations to immersive motion graphics, they add polish and professionalism to your projects.
👉 Want to try it yourself? Download Adobe After Effects free trial and start experimenting with 3D layers today.






