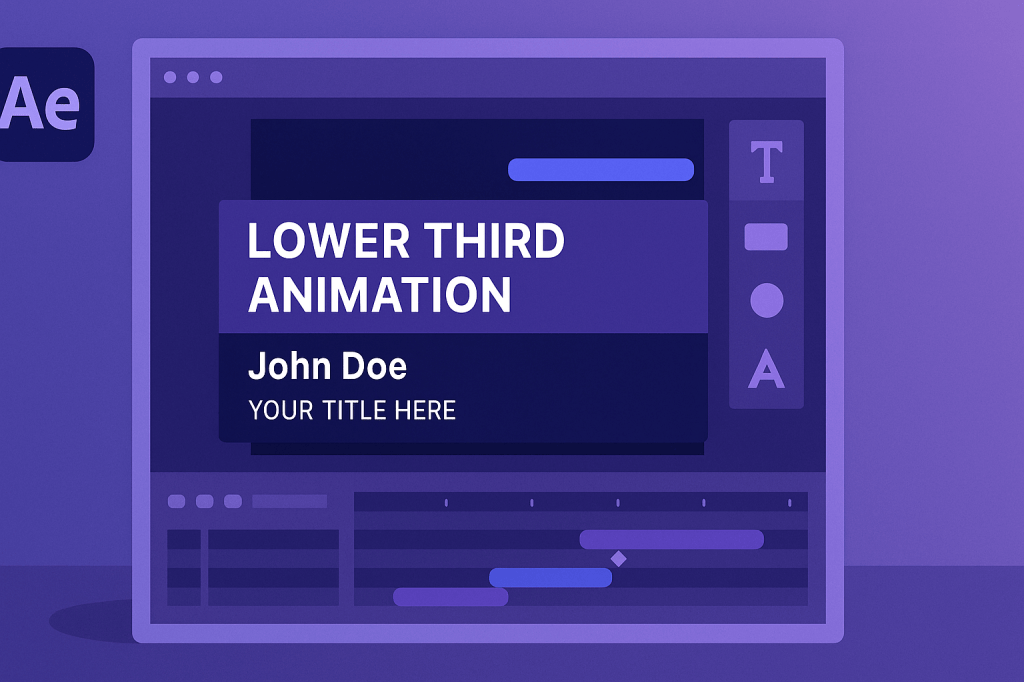
Lower thirds are a staple in video production. They display information like names, job titles, or locations at the bottom of the screen. With After Effects, you can create professional animated lower thirds that add polish and clarity to your videos.
🎬 Step 1: Set Up Your Composition
- Create a new composition (1920×1080, 30 fps, 8–10 seconds).
- Import your footage or use a solid background.
- Decide where you want your lower third to appear (bottom left or bottom right).
🎨 Step 2: Design the Shape
- Create a Rectangle Shape Layer as the main bar.
- Add a second, smaller shape for accents or highlights.
- Choose colors that match your brand or video theme.
👉 Keep it minimal so it doesn’t distract from the content.
⚡ Step 3: Add Text
- Use the Text Tool (T) to type a name and title.
- Use bold fonts for names and lighter fonts for roles.
- Align text neatly within the rectangle.
🎬 Step 4: Animate the Elements
- Animate the shape layer Position so it slides in from off-screen.
- Animate the text with Opacity or Tracking for a smooth reveal.
- Apply Easy Ease (F9) to keyframes for natural timing.
👉 Combine animations for shapes and text so they move as one cohesive unit.
✨ Step 5: Make It Reusable
- Pre-compose the lower third elements.
- Replace text in new videos while keeping the animation.
- Save as an Animation Preset for future projects.
🧪 Creative Variations
- Split Animation: Slide in two bars from opposite directions.
- Wipe Reveal: Use masks to uncover text and shapes.
- Logo Integration: Add your brand logo alongside text.
🎯 Final Thoughts
Lower third animations are small details that make a big difference in professionalism. With simple shapes, clean fonts, and smooth animation, you can create polished graphics for any video.
👉 Want to try it? Download Adobe After Effects free trial and build your own custom lower third animation today.






