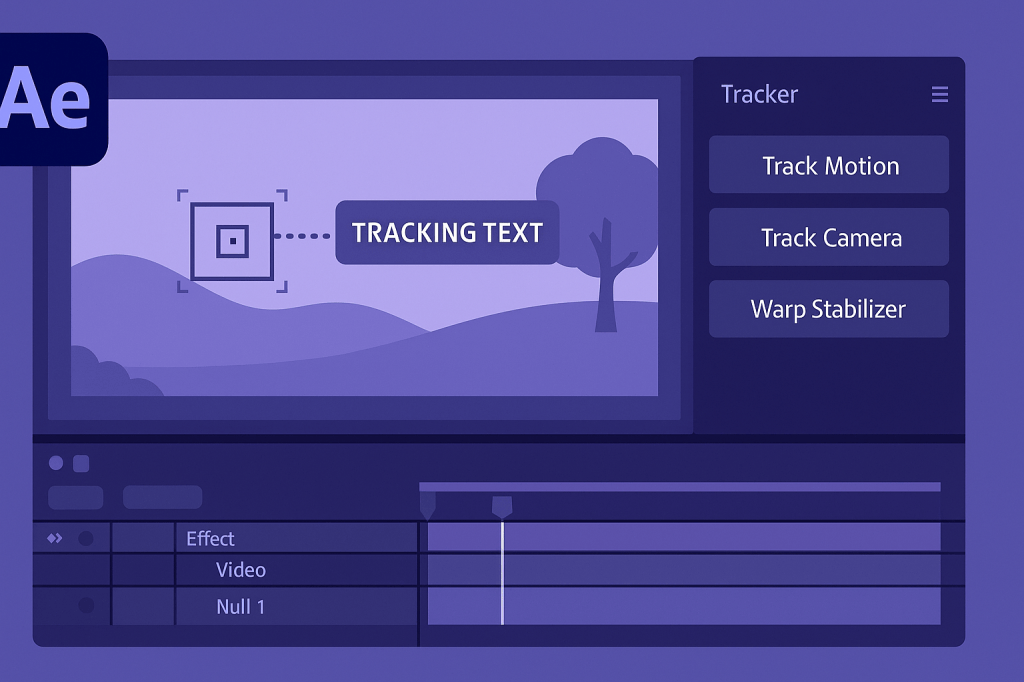
Motion tracking is one of After Effects’ most powerful tools. It allows you to attach text, images, or effects to moving objects in your footage, making it essential for VFX, titles, and creative overlays.
🎬 Step 1: Import Your Footage
- Go to File > Import > File and add your video.
- Create a new composition with the footage.
- Preview the clip and identify the object you want to track.
🎨 Step 2: Open the Tracker Panel
- Select your footage layer.
- Go to Window > Tracker to open the panel.
- Click Track Motion.
👉 AE will create a tracking point with two boxes:
- Inner box = the feature to track.
- Outer box = the search area.
⚡ Step 3: Analyze the Motion
- Position the tracking point over a high-contrast feature (corner, edge, logo).
- Click Play (Analyze Forward) in the Tracker Panel.
- After Effects follows the feature across the timeline.
👉 If tracking slips, pause and reposition the tracking point, then continue.
🎬 Step 4: Apply Tracking Data
- Create a Null Object (Layer > New > Null Object).
- In the Tracker Panel, choose Edit Target > Null Object.
- Click Apply.
- Now, parent any layer (text, logo, image) to the null object.
👉 Your element will follow the tracked motion.
✨ Step 5: Advanced Motion Tracking
- Stabilize Motion: Use tracking to remove camera shake.
- Corner Pin Tracking: Attach graphics to surfaces (like screens or signs).
- 3D Camera Tracker: For more complex shots, automatically generates a 3D camera to match scene movement.
⚡ Pro Tips
- Use high-contrast features for better tracking accuracy.
- Pre-stabilize shaky footage before tracking.
- Feather your added graphics to blend naturally with footage.
🎯 Final Thoughts
Motion tracking opens up endless creative possibilities, from simple text overlays to advanced VFX. With just a few steps, you can make graphics stick seamlessly to moving footage.
👉 Want to try it? Download Adobe After Effects free trial and start tracking motion today.






