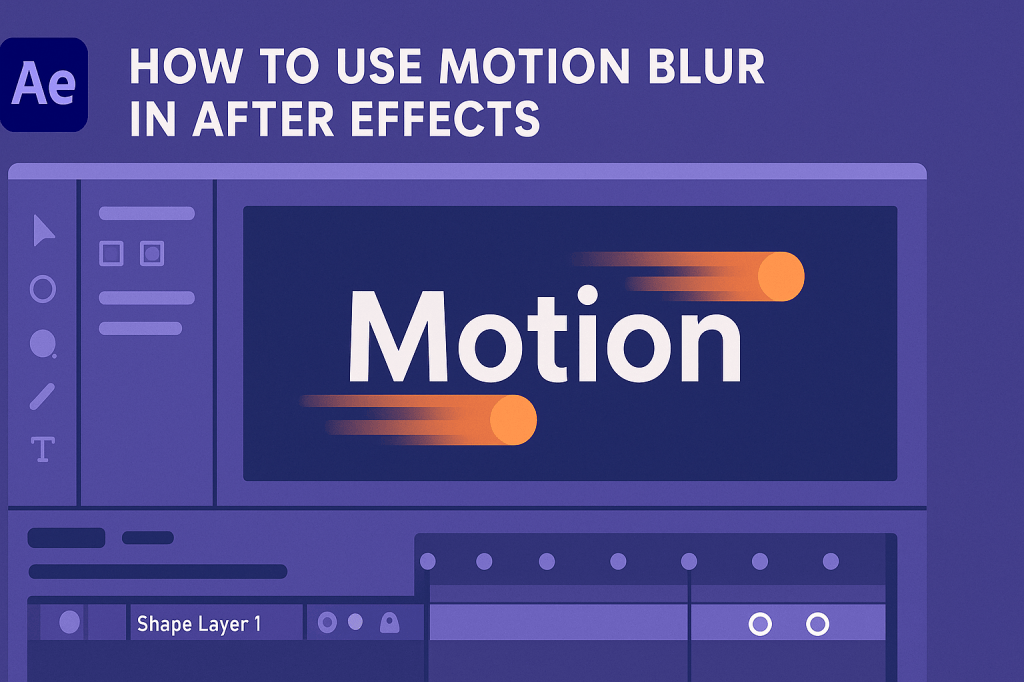
Motion blur makes animations look natural by simulating the blur that occurs when objects move quickly in real life. Without it, animations can feel stiff and artificial. In After Effects, motion blur is easy to apply and customize for professional-looking results.
🎬 Step 1: Enable Motion Blur for Layers
- In the Timeline, locate the Motion Blur switch (three overlapping circles).
- Click it on for the layers you want blurred.
- Turn on the Enable Motion Blur button at the top of the timeline.
👉 Now, moving or rotating objects will automatically generate blur.
🎨 Step 2: Adjust Motion Blur Settings
- Go to Composition > Composition Settings > Advanced.
- Under Shutter Angle, increase/decrease the blur amount.
- 180° = natural film blur.
- Higher values = stronger blur.
- Lower values = subtle blur.
👉 Pro Tip: A shutter angle of 360° creates dramatic blur.
⚡ Step 3: Animate with Blur
- Text Animations: Sliding or fading text looks smoother with blur.
- Shape Layers: Fast-moving shapes gain depth with added blur.
- Logo Animations: Rotation and scaling appear more cinematic.
🎬 Step 4: Motion Blur for 3D Layers
- Works with 3D text, cameras, and lights.
- Essential for parallax and 3D object animation.
- Adds realism to otherwise “digital” looking movement.
✨ Step 5: Performance Tips
- Motion blur can slow down previews.
- Turn it off while working, then re-enable before final render.
- Use lower resolution previews to keep playback smooth.
🎯 Final Thoughts
Motion blur may seem small, but it adds a huge dose of realism to any animation. Whether you’re animating text, shapes, or 3D layers, enabling blur makes your work feel polished and professional.
👉 Want to try it? Download Adobe After Effects free trial and start adding motion blur to your projects today.






