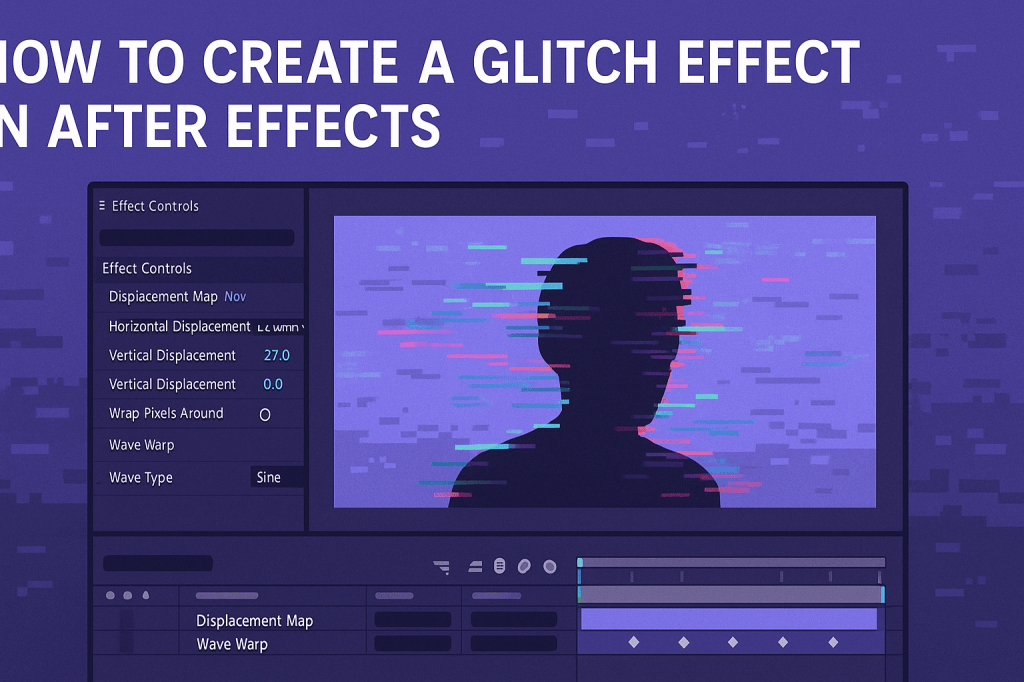
The glitch effect is a trendy visual style that simulates digital distortion, static, or signal errors. It’s perfect for music videos, sci-fi visuals, or edgy intros. After Effects makes it easy to build glitch effects using built-in tools and presets.
🎬 Step 1: Prepare Your Footage
- Import your video into After Effects.
- Place it in a new composition.
- Duplicate the layer (Ctrl/Cmd + D) to experiment without losing the original.
🎨 Step 2: Use the Displacement Map Effect
- Select your duplicated layer.
- Go to Effect > Distort > Displacement Map.
- Choose the same video layer as the displacement source.
- Adjust Horizontal & Vertical Displacement for distortion.
👉 Add keyframes for random bursts of glitching.
⚡ Step 3: Add RGB Split
- Duplicate the video layer three times.
- Apply Shift Channels effect to isolate Red, Green, and Blue.
- Offset each channel slightly in Position.
- Combine them for a colorful glitch split effect.
🎬 Step 4: Use Wave Warp or Bad TV Effects
- Effect > Distort > Wave Warp → simulates signal waves.
- Effect > Stylize > Bad TV → creates rolling static.
- Keyframe intensity for random glitch flickers.
✨ Step 5: Add Noise & Flicker
- Effect > Noise for grainy static.
- Effect > Brightness & Contrast → animate flickering exposure.
- Use an Adjustment Layer for global glitch bursts.
🧪 Creative Uses
- Glitchy title intros.
- Music video overlays.
- Sci-fi “digital distortion” scenes.
- Error screen transitions.
🎯 Final Thoughts
Glitch effects are fun, versatile, and surprisingly easy in After Effects. By combining displacement, RGB splits, noise, and flicker, you can create digital chaos that grabs attention.
👉 Want to try it? Download Adobe After Effects free trial and build your first glitch animation today.






