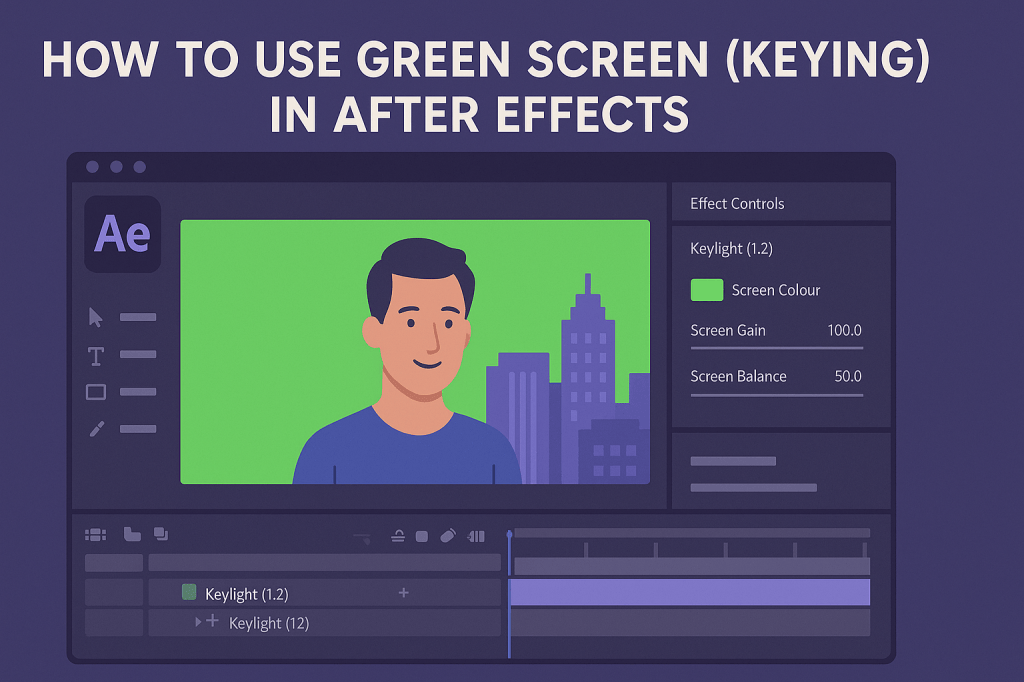
Green screen (also called chroma keying) is one of the most common VFX techniques. It allows you to replace a green (or blue) background with any scene you want — from futuristic cityscapes to branded graphics. After Effects makes keying straightforward with the right tools.
🎬 Step 1: Import Your Footage
- Import your green screen footage.
- Place it into a new composition.
- Add the background image or video on a layer below.
🎨 Step 2: Apply the Keylight Effect
- Select your footage layer.
- Go to Effect > Keying > Keylight (1.2).
- In Effect Controls, use the Eyedropper tool to select the green background.
👉 The background should instantly become transparent.
⚡ Step 3: Refine the Matte
- Screen Matte View: Switch to Screen Matte in Keylight to check transparency.
- Adjust Clip Black and Clip White sliders for a clean mask.
- Use Screen Softness to reduce jagged edges.
👉 Pro Tip: Feather edges slightly for a natural blend.
🎬 Step 4: Fix Spill & Color Issues
Green screens often leave a green glow (spill) on edges.
- In Keylight, adjust Screen Shrink/Grow to reduce spill.
- Use Spill Suppression to remove green tint from hair or edges.
✨ Step 5: Composite with Background
- Place your background (image, video, or graphic) below the keyed footage.
- Match lighting and color grading for realism.
- Add shadows or blur to integrate the subject naturally.
🧪 Creative Uses
- Replace backgrounds for YouTube or TikTok videos.
- Add actors into fantasy environments.
- Use branded backdrops for business videos.
- Create product showcase scenes.
🎯 Final Thoughts
Green screen is a must-know skill in video production. With Keylight and a few refinements, you can place your subjects anywhere and make your videos look cinematic.
👉 Want to try it yourself? Download Adobe After Effects free trial and start keying your first green screen shot today.






