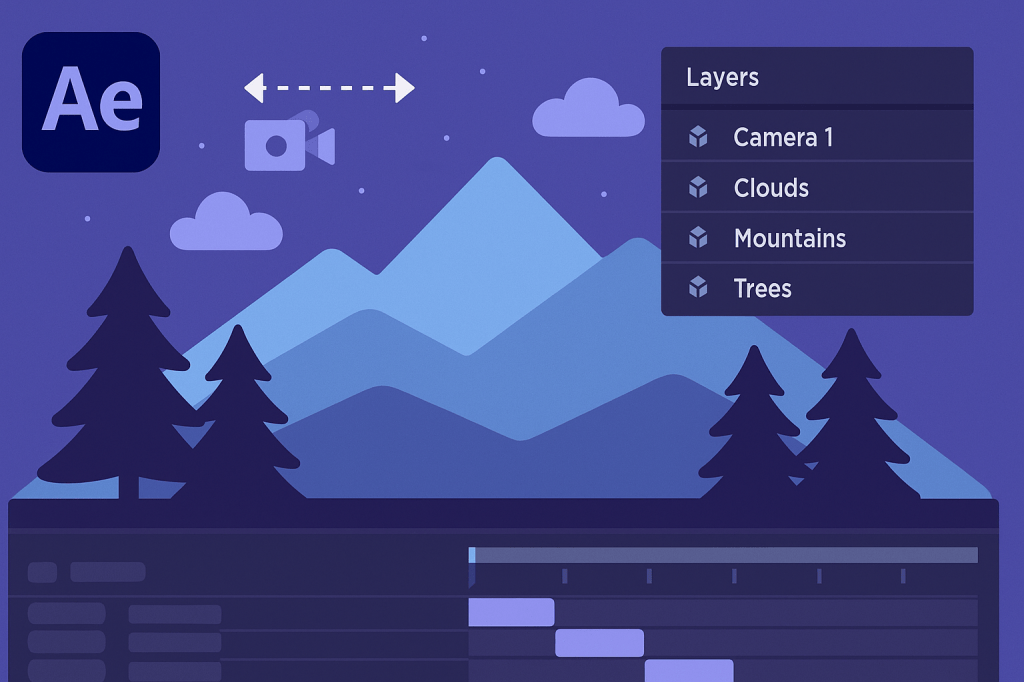
Parallax animation adds depth by making background and foreground elements move at different speeds. It’s a popular technique for explainer videos, presentations, and even photo animations. With After Effects, you can create parallax effects easily using 3D layers and cameras.
🎬 Step 1: Prepare Your Assets
- Use layered artwork from Photoshop or Illustrator (separate background, midground, and foreground).
- Or split a single photo into layers (sky, mountains, subject).
- Import into After Effects as Composition – Retain Layer Sizes.
🎨 Step 2: Convert to 3D Layers
- Select all layers.
- Enable the 3D Layer switch (cube icon).
- Space out layers along the Z-axis:
- Background → far back
- Midground → middle
- Foreground → closer
👉 The more separation, the stronger the parallax effect.
⚡ Step 3: Add a Camera
- Go to Layer > New > Camera.
- Use the Unified Camera Tool (C) to orbit, pan, or zoom.
- Animate the camera Position or Point of Interest.
👉 This creates depth as layers move at different speeds.
🎬 Step 4: Smooth the Animation
- Add Easy Ease (F9) to camera keyframes.
- Adjust in the Graph Editor for natural motion.
- Enable Motion Blur for realism.
✨ Step 5: Enhance the Scene
- Add a Light Layer for shadows and highlights.
- Use Depth of Field in the Camera settings for cinematic blur.
- Include particle effects (dust, snow, light leaks) for extra depth.
🧪 Creative Uses
- Animated Photos: Make still images feel alive with camera movement.
- Infographics: Add parallax to charts and icons for dynamic presentations.
- Backgrounds: Create looping parallax scenes for social videos.
🎯 Final Thoughts
Parallax animation is a simple way to add depth and professionalism to your projects. By separating layers in 3D space and animating a camera, you can turn flat images into immersive motion graphics.
👉 Want to try it yourself? Download Adobe After Effects free trial and create your first parallax animation today.






