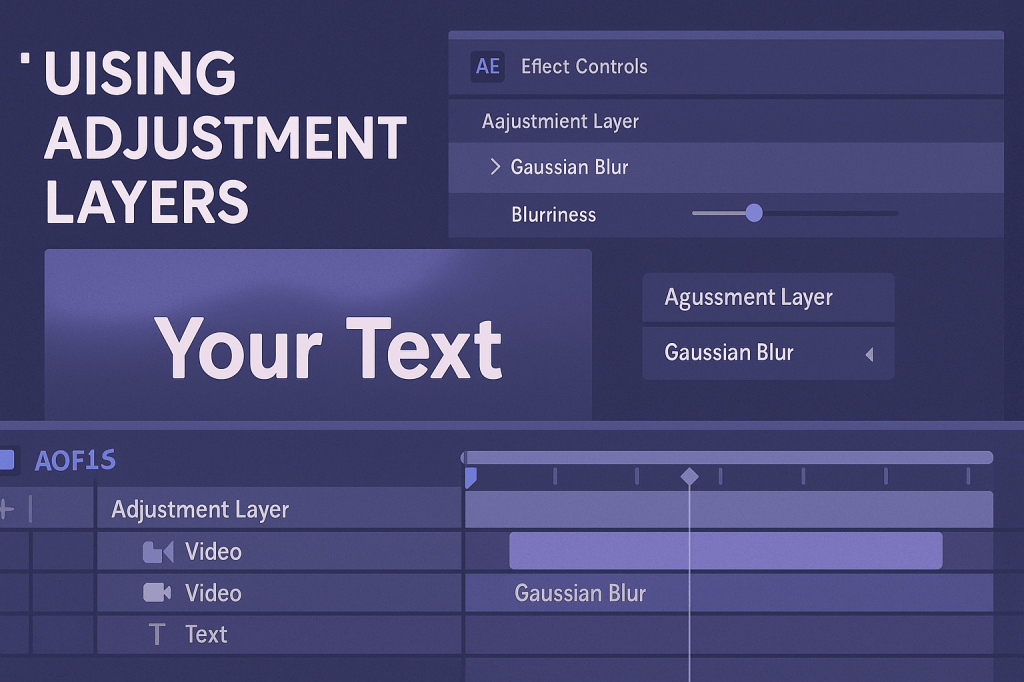
Adjustment layers are powerful tools in After Effects that let you apply effects to multiple layers at once. Instead of copying the same effect onto every layer, you can use an adjustment layer as a “universal controller” for color correction, blurs, transitions, and more.
🎬 Step 1: Create an Adjustment Layer
- Go to Layer > New > Adjustment Layer.
- A transparent layer appears in the timeline.
- Place it above the layers you want to affect.
👉 Everything below the adjustment layer will inherit its effects.
🎨 Step 2: Apply Effects
- With the adjustment layer selected, add effects from the Effects & Presets panel.
- Popular effects for adjustment layers:
- Color Correction (Lumetri, Curves)
- Blur (Gaussian, Fast Box Blur)
- Glow or Stylize effects
- Noise/Film Grain
👉 Perfect for creating a consistent look across your entire comp.
⚡ Step 3: Animate Effects
- Keyframe effects on the adjustment layer.
- Example: Animate Opacity of a Gaussian Blur for a smooth transition.
- This lets you create scene-wide effects without editing each individual layer.
🎬 Step 4: Masking Adjustment Layers
- Add a mask to the adjustment layer (Rectangle, Ellipse, or Pen Tool).
- The effect applies only inside (or outside) the mask.
- Example: Apply a vignette by masking a darkened adjustment layer.
✨ Step 5: Creative Uses
- Transitions: Fade in/out a blur or glow.
- Color Grading: Apply one color correction across all layers.
- Vignettes: Focus attention with darkened edges.
- Film Look: Add grain and tints globally.
🎯 Final Thoughts
Adjustment layers save time and give you more control in After Effects. They act as effect containers that influence everything below them, making your workflow faster and cleaner.
👉 Want to try it? Download Adobe After Effects free trial and experiment with adjustment layers today.






