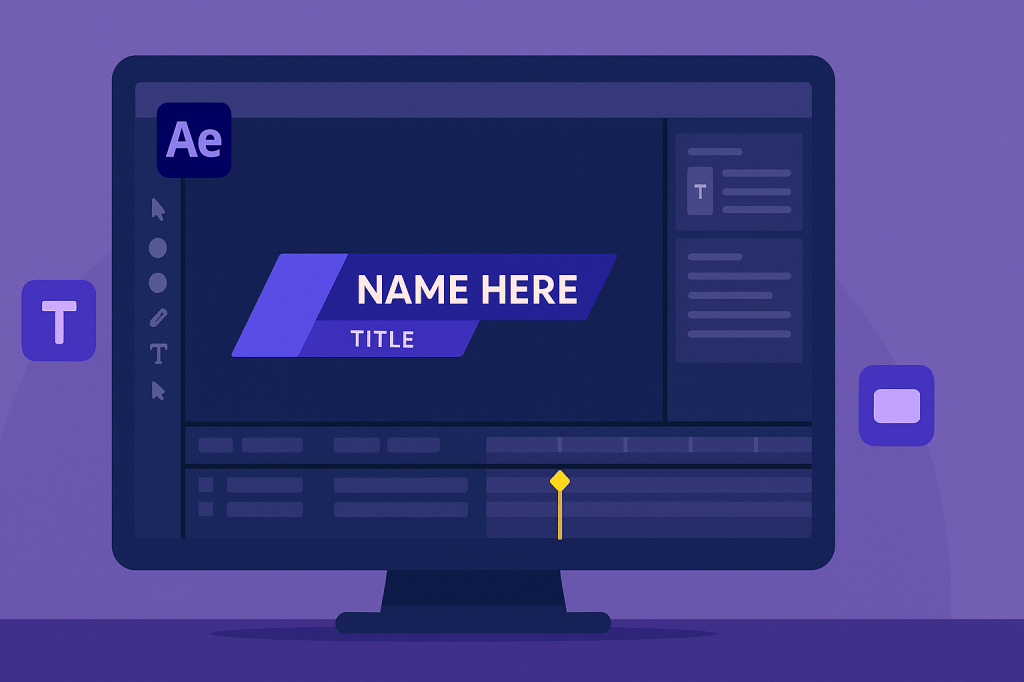
Lower thirds are those small text banners you see at the bottom of videos — often used to show names, job titles, or extra info. They add a professional polish to interviews, documentaries, livestreams, and YouTube videos. With After Effects, you can design custom lower thirds that match your brand.
🎬 Step 1: Set Up Your Composition
- Create a new comp: 1920×1080, 30 fps, 10 seconds.
- Add a solid background layer (optional, just for previewing).
- Decide where your lower third will appear — usually the bottom left or bottom right.
✍️ Step 2: Build the Graphic
- Use the Shape Tool to create a rectangle or bar.
- Customize colors, stroke, or gradients to fit your brand.
- Add a secondary shape (angled lines, thin bars, or highlights) for style.
👉 Pro Tip: Keep it simple — the focus should remain on your video, not the lower third.
🔤 Step 3: Add Text
- Use the Text Tool to type a name or title.
- Pair fonts: bold for the name, lighter for the title.
- Adjust alignment so the text sits neatly inside the shape.
🎨 Step 4: Animate the Lower Third
Here are a few animation ideas:
- Slide-In: Animate the shape’s Position from off-screen.
- Fade-In: Animate Opacity from 0% to 100%.
- Mask Reveal: Use a mask or Trim Paths to reveal shapes smoothly.
- Text Animation: Animate Tracking or Opacity for each word.
👉 Always apply Easy Ease (F9) for smoother motion.
⚡ Step 5: Make It Reusable
Turn your design into a pre-comp. You can duplicate it in other projects and just replace the text. This makes it a time-saving template.
🎯 Final Thoughts
Lower thirds may seem small, but they add huge value to your video’s professionalism. With After Effects, you can design lower thirds that match your style, animate them smoothly, and reuse them for future projects.
👉 Want to try building your own? Download Adobe After Effects free trial and create your first lower third today.






