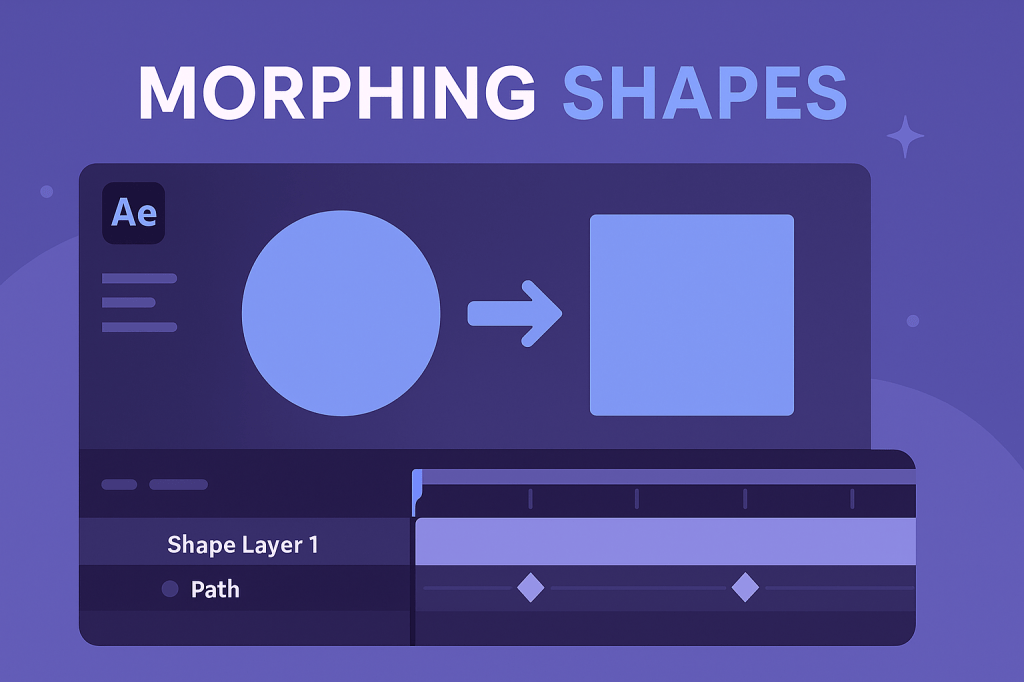
Shape morphing is a powerful animation technique that transforms one shape into another. It’s widely used in logo reveals, infographics, and abstract motion design. With After Effects’ shape tools and path animations, you can create smooth, professional morphing effects.
🎬 Step 1: Set Up Your Composition
- Create a new comp (1920×1080, 30 fps, 5–10 seconds).
- Add a Shape Layer with the Ellipse Tool (a circle).
- Add another Shape Layer with the Rectangle Tool (a square).
✍️ Step 2: Convert Shapes to Paths
- Right-click the shape layer → Convert to Bezier Path.
- This lets you edit the vector points of the shape.
- You’ll now see “Path” under the shape’s properties.
👉 Pro Tip: Both shapes should have a similar number of points for smoother morphing.
🎨 Step 3: Animate the Path
- Select your first shape’s Path property.
- Add a keyframe at frame 0.
- Move forward in the timeline and paste in the Path of the second shape.
- After Effects will interpolate between the two paths, creating a morph.
⚡ Step 4: Smooth the Motion
- Apply Easy Ease (F9) to the keyframes.
- Adjust the curves in the Graph Editor for more natural flow.
- Add Motion Blur to enhance realism.
✨ Step 5: Style the Animation
- Add a Gradient Fill for depth.
- Animate the Stroke for an outline effect.
- Use the Repeater to create multiple morphing shapes at once.
🧪 Practice Ideas
- Morph a circle into a play button for a video intro.
- Transform a rectangle into a logo icon.
- Create looping abstract shapes for backgrounds.
🎯 Final Thoughts
Morphing shapes is a simple but powerful way to add life to your animations. With just a few keyframes, you can transform ordinary graphics into dynamic storytelling elements.
👉 Want to try it yourself? Download Adobe After Effects free trial and create your first morphing animation today.






