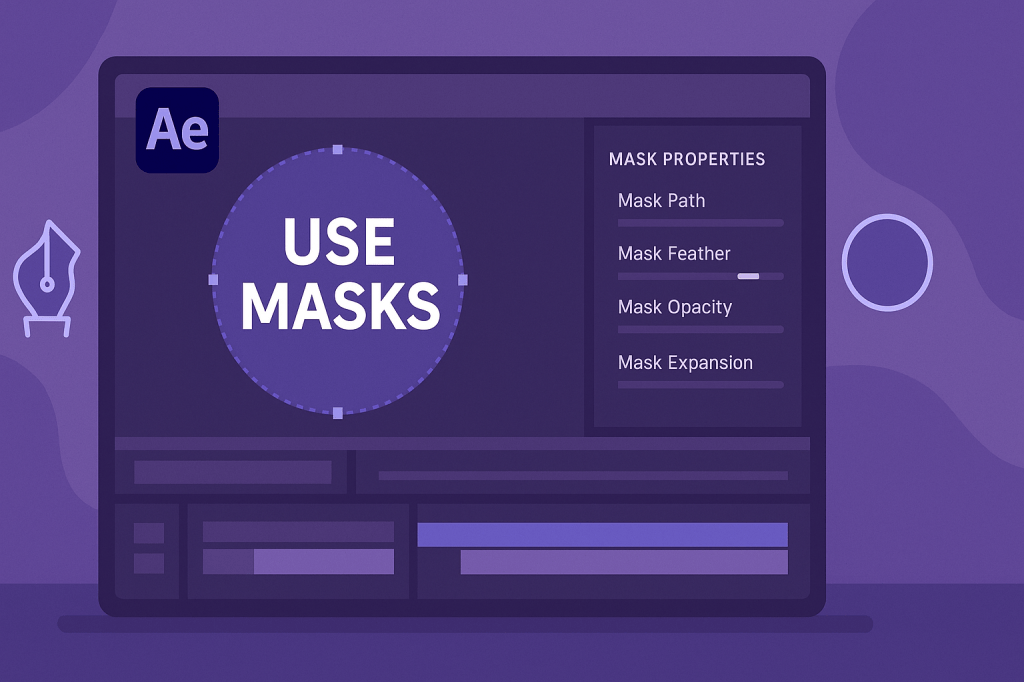
Masks are one of the most useful tools in After Effects. They let you control which parts of a layer are visible, making them essential for reveals, transitions, and compositing. Whether you’re cutting out a subject or animating a shape reveal, mastering masks will make your animations more dynamic.
🎬 Step 1: Create a Mask
- Select the layer you want to mask.
- Choose a shape tool (Rectangle, Ellipse, Polygon, or Star).
- Draw directly on the composition — AE automatically applies a mask.
👉 Pro Tip: For custom shapes, use the Pen Tool (G) to draw a freeform mask.
🎨 Step 2: Adjust Mask Properties
Open the layer → twirl down Masks. You’ll see options like:
- Mask Path → Shape of the mask (can be keyframed for animation).
- Mask Feather → Softens edges for smoother blending.
- Mask Opacity → Controls transparency inside the mask.
- Mask Expansion → Shrinks or grows the mask area.
⚡ Step 3: Animate a Mask
- Add keyframes to Mask Path to move or reshape the mask over time.
- Example: Animate an ellipse mask to reveal text like a spotlight.
- Combine with feathering for smooth transitions.
🎬 Step 4: Multiple Masks & Modes
- Add multiple masks to the same layer.
- Use Add, Subtract, Intersect, or Difference modes for advanced masking.
- Example: Subtract one shape from another to create cutout effects.
✨ Step 5: Creative Uses for Masks
- Text Reveals: Animate masks to make text slide or fade into view.
- Transitions: Wipe between scenes with an animated shape mask.
- Spotlight Effect: Use feathered circular masks to highlight parts of footage.
- Custom Shapes: Use the Pen Tool to isolate objects for compositing.
🎯 Final Thoughts
Masks are the foundation of compositing and motion design. With just a few clicks, you can hide, reveal, and transform your layers into engaging animations.
👉 Want to practice? Download Adobe After Effects free trial and experiment with masks in your next project.






