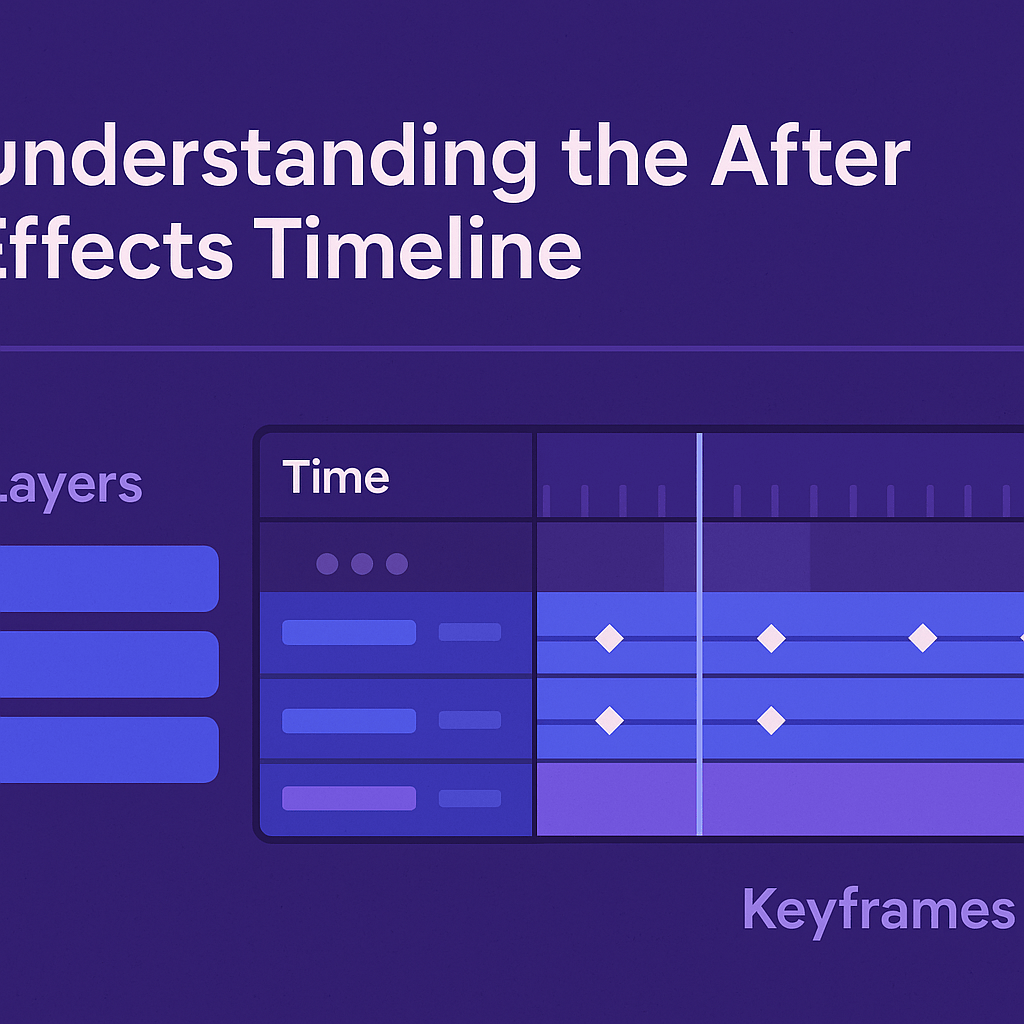
The timeline is the beating heart of Adobe After Effects. It’s where your layers, keyframes, and effects come together to create motion. Whether you’re a beginner or brushing up on your skills, mastering the timeline will make your projects smoother and more professional.
🧭 What Is the Timeline?
The timeline is where you control time. It shows:
- Layers stacked vertically.
- Time ruler across the top (frames/seconds).
- Keyframes & markers that define animations.
- Current-time indicator (CTI) — the blue playhead you drag to preview.
👉 Think of it as your stage director’s board: who (layer) does what (property) and when (time).
🎬 Layers in the Timeline
Each asset you import appears as a layer. Layers can include:
- Video clips
- Text and shapes
- Solids & adjustment layers
- Audio tracks
- Pre-compositions
Layers are read from top to bottom: higher layers appear in front of lower ones.
👉 Pro Tip: Use color labels to group similar layers (e.g., all text in red, all footage in green).
🎯 Keyframes in the Timeline
Animations are driven by keyframes. When you activate the stopwatch on a property, AE records a value at that time. Move forward in time, change the value, and AE interpolates the motion.
Shortcut keys to reveal key properties:
- P – Position
- S – Scale
- R – Rotation
- T – Opacity
- A – Anchor Point
👉 Press U to reveal all animated properties on selected layers.
📌 Timeline Navigation Tools
- Zoom bar: Shrink or expand to focus on a section.
- Markers: Add project notes or sync points (Layer > Marker).
- Work Area: Defines what part of the timeline to preview or render.
- Solo/Mute/Lock switches: Control visibility, sound, and edit safety.
⚡ Workflow Tips
- Use pre-comps to simplify busy timelines.
- Trim layers (Alt/Option + [ or ]) to cut in/out points without deleting.
- Right-click the time ruler → switch between frames and seconds depending on your project.
- Enable motion blur for more realistic movement (toggle in the timeline switches).
🎯 Final Thoughts
The timeline can feel intimidating at first, but once you learn its logic, it becomes your most powerful tool in After Effects. With layers, keyframes, and smart navigation, you’ll be animating faster and cleaner.
👉 Ready to practice? Try Adobe After Effects free today and start building your first animated timeline.






